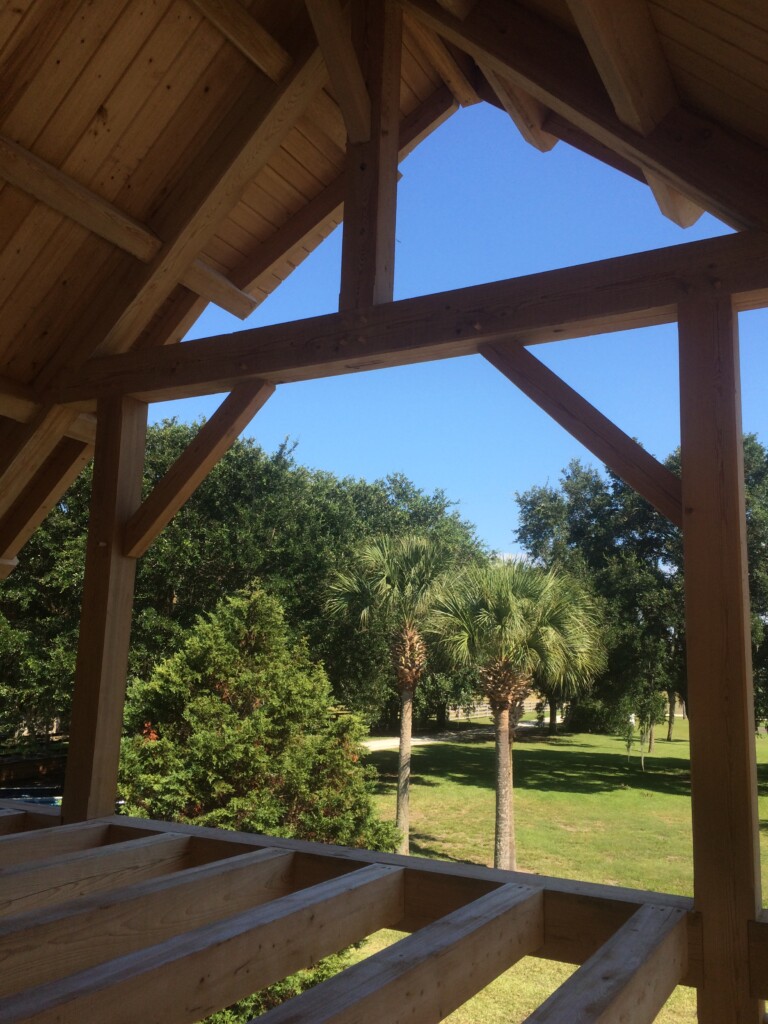
A Better Way for Timber Frame Knee Braces
The Joint and Peg team recommends that you typically always have the knee braces of a timber frame suspended from the beam when you are flying the beam during a raising. We find that most do not do this. Assuming you have properly laid out and cut your knee brace, lets proceed to the raising.
Always have as much of an assembly as possible already connected before raising. However, when you do need to fly a beam, such as a wall plate to connect some frames, we recommend that you rig the beam, and then lift it off the ground slight enough to insert the knee braces into their corresponding beam mortises. We also recommend always labeling the tenon on the downhill side so that you can see the labeling during this procedure. Now, you don’t connect the knee brace to the beam with the peg, you use a smaller diameter rod or peg that allows the brace to sloop just a bit from its in situ angle. Or in other words, it allows some play in it. Once you have the knee braces suspended from the beam you can go ahead and fly the assembly to its place to be installed.

Here is the primary reason for always flying the knee braces with the beam:
The person there to make sure all the joints go together can usually use the suspended brace to align and guide the rest of the joinery to be connected. First, they can see that the knee brace has the correct label, such as A1+ or A2-, then grab the brace and guide the whole assembly into place as he/she pushes the brace up into the post mortise as the beam comes down.
So much easier than guiding the beam with your hands.
Providing proper feeding (chamfers) on joinery according to proper raising procedure helps with this process as we will discuss this in another post.